


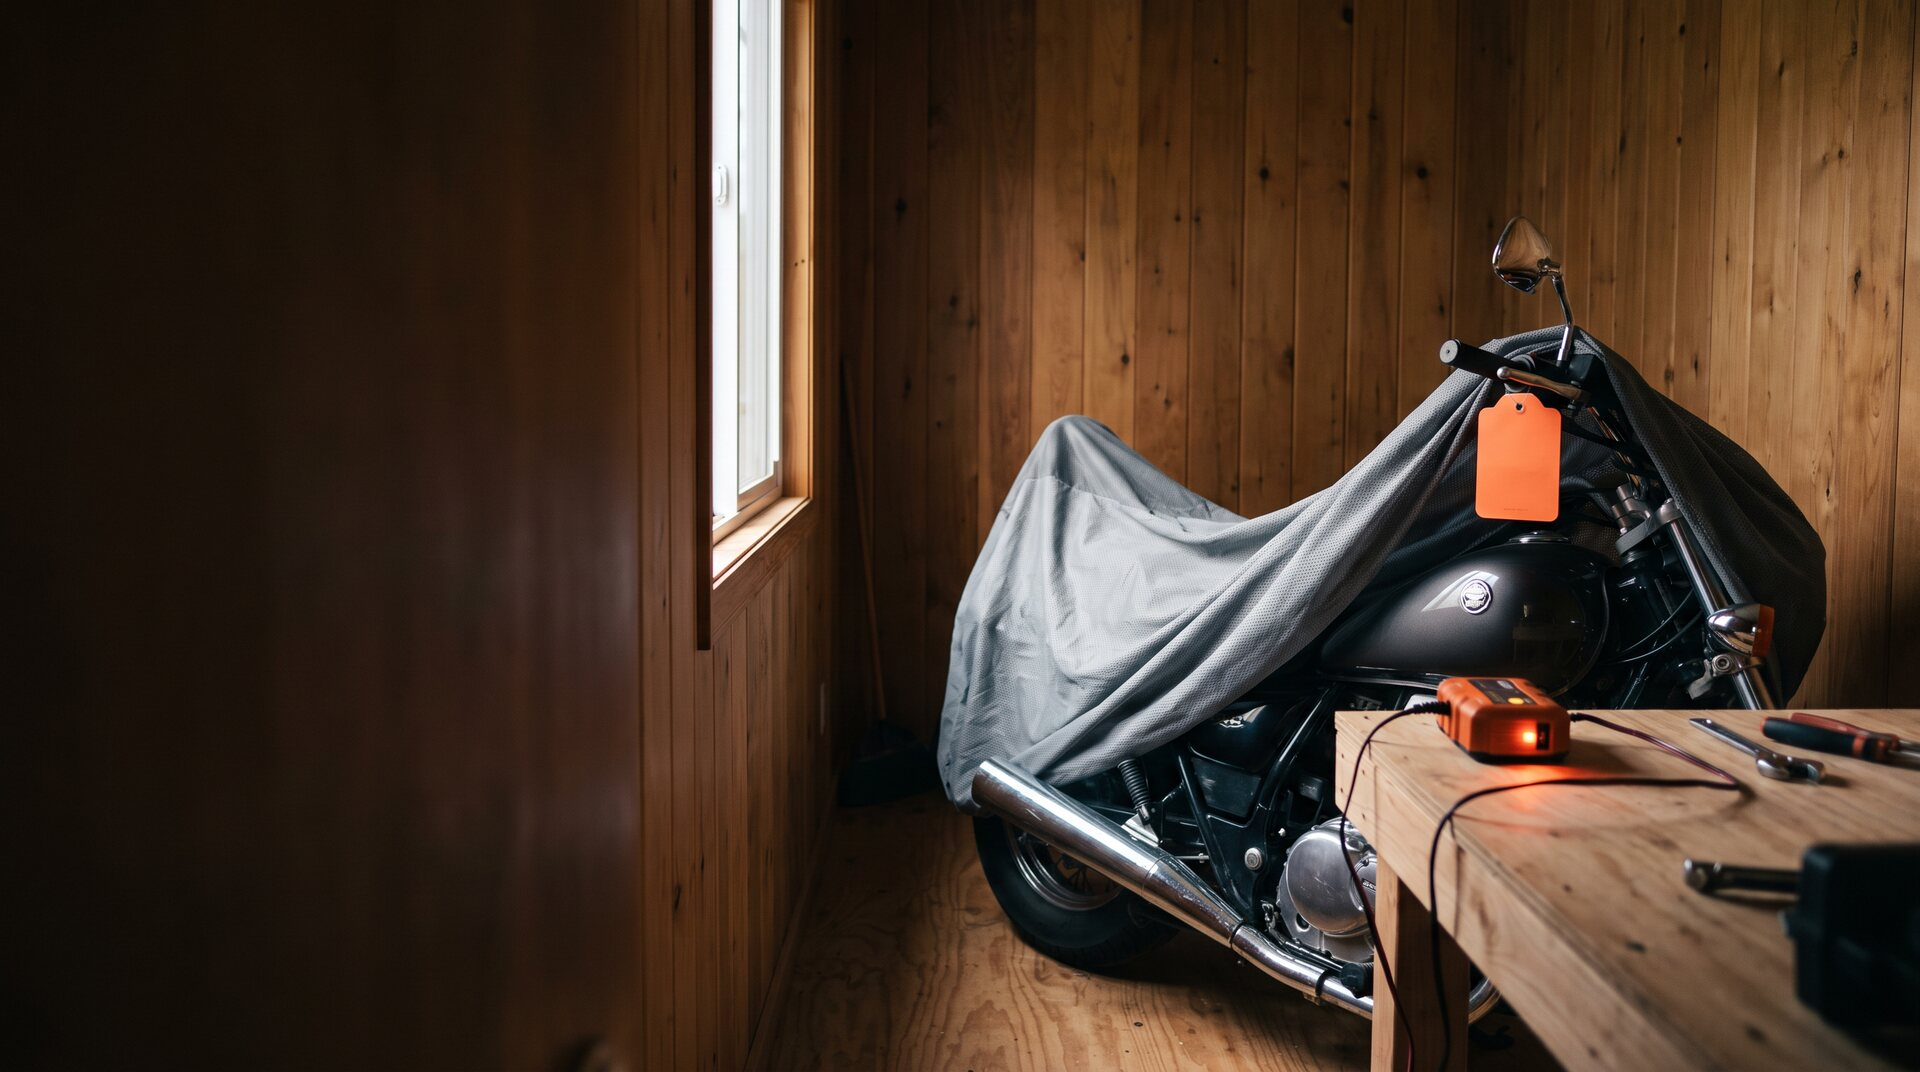
Most motorcycles don't die in storage from one big failure. They die from small ones that stack up: a quarter tank of stale fuel, a battery that drifted flat in January, a chain that rusted while it waited, a mouse that found the airbox. Every one of those is preventable, and every one is easier to prevent in November than to repair in April.
This guide is a complete motorcycle winter storage procedure, built for bikes that will sit for months. We'll go step by step, from choosing where the bike parks to the checklist you run when the weather turns. Your owner's manual is the final word on fluids, capacities, and intervals for your exact model, so use this as the order of operations and let the manual fill in the numbers. Carolina Cycle has supplied genuine OEM parts to riders since 1970, and these steps reflect what we see riders need most when a bike heads into hibernation.
Quick Summary
- Park the bike somewhere dry, stable, and out of the weather, then wash it and dry it completely.
- Treat the fuel according to your manual, since carbureted and fuel-injected bikes have different needs.
- Change the oil and filter, and check the coolant, so used fluids don't sit against metal all winter.
- Keep the battery charged with a maintainer or store it off the bike, then protect the chain, drive system, brakes, and tires.
- Plug the openings with a visible reminder tag, choose a breathable cover, and follow a wake-up checklist in spring.
Set Up the Space and Clean the Bike
Step 1: Choose the Storage Spot
The best spot is indoors, dry, and out of temperature swings. A garage or outbuilding beats a carport, and a carport beats open yard. Dampness is the real enemy, since it drives rust, corrosion on electrical connectors, and mildew under a cover.
Set the bike on a flat, firm surface, ideally on plywood or a rubber mat, and keep it away from heaters and pilot lights.
Step 2: Wash and Dry Thoroughly
Washing removes road film, bug residue, and brake dust, all of which hold moisture against paint and metal. Use water and a gentle bike wash, rinse carefully around bearings, switches, and electrical connectors, and skip any aggressive pressure stream aimed at seals. Finish by drying every surface, including the nooks around the chain, the wheels, and the underside of the tank.
A clean bike is also an honest one. While you wash, look for cracked hoses, torn boots, weeping seals, worn pads, and loose fasteners. Make a list now and order genuine parts from our catalog while the bike is still in front of you. Riders who plan repairs in fall tend to ride on the first warm day in spring instead of waiting on a shipment.
Fuel, Oil, and Coolant
Step 3: Handle the Fuel
Gasoline ages. Over a few months it can leave varnish in the tank and fuel system, and on a carbureted bike that varnish can clog the small passages in the carburetors. On a fuel-injected bike it can foul injectors and the fuel pump screen. Two decisions matter: stabilizer, and full tank versus empty.
Many owners add a fuel stabilizer, following the product's directions, fill the tank to cut down on air space and condensation, and then run the engine long enough for the treated fuel to circulate. Some carbureted bikes call for shutting off the fuel and running the carburetors dry instead, or draining the float bowls. Fuel-injected bikes usually don't have float bowls to drain, and your manual may recommend a different approach. Read the storage section for your model, and follow it over any general rule, including this one.
Step 4: Change the Oil and Filter
Used oil carries acids and moisture left over from combustion. Leaving it in the engine for months gives those contaminants time to work on bearings and surfaces. That's why many owners change oil and filter right before storage instead of after.
Warm the engine briefly so the oil flows, drain it, replace the drain plug washer or gasket if your model uses one, fit a new filter, and refill with the type and amount your manual lists. A genuine OEM oil filter is built to the factory's specification for your model. Carolina Cycle sells the parts but does not perform the work, so if you'd rather have a technician do it, take your bike to your dealer.
Step 5: Check the Coolant
Liquid-cooled bikes need coolant that can handle the coldest night your garage will see. Check the level and condition, and look at your manual for the coolant type and replacement interval. If it's due, storage is a convenient time to do it.
Inspect the radiator hoses and clamps for cracks or swelling, and look under the bike for drips. A small leak found now is a small fix.
Battery and Electrical
Step 6: Maintain the Battery or Remove It
A battery discharges slowly on its own, and the bike's clock, alarm, or computer memory can pull it down faster. A battery left deeply discharged can lose capacity for good. You have two sound options.
The first is a battery maintainer, connected to the battery, which holds the charge without overcharging. The second is to remove the battery, store it indoors in a cool, dry place, and charge it every so often. Either way, clean the terminals, check the cables, and use a charger suited to your battery type. If the battery struggled to crank this season, replace it now with a genuine one made for your model.
Drivetrain and Brakes
Step 7: Clean and Lube the Chain
A chain that sits dirty rusts in its rollers and stiffens. Clean it with a product made for your chain type, let it dry, and lube it as your manual directs. Rotate the rear wheel to work lubricant through the full length, and check the slack and sprocket wear while you're at it.
If the chain, sprockets, or rubber seals are worn, winter is the time to order a matched set rather than mixing a new chain with tired sprockets.
Step 8: Care for Belt or Shaft Drive
Not every bike has a chain. A belt drive needs a look for cracks, frayed edges, or missing teeth, and it should stay clean and free of oil. A shaft drive needs a check of the final drive fluid level and condition according to your manual, along with a look at the rubber boot for splits.
Step 9: Inspect the Brakes and Brake Fluid
Look at pad thickness and rotor condition. Brake fluid absorbs moisture over time, and fluid that's past due can feel soft and encourage corrosion inside the system. Your manual lists when to replace it.
Brake hydraulics are safety systems, so leave bleeding and fluid replacement to your dealer or a qualified technician. When you store the bike, avoid leaving the parking brake or any clamp engaged against the pads for months, since pads can stick to a rotor in damp conditions.
Stance and Sealing
Step 10: Set Up Tires and Stands
A tire carrying the full weight of a bike for months can develop a flat spot, and pressure drifts down over time. The best fix is to take the weight off. Paddock stands, a center stand, or a lift lets you get both wheels off the ground, and that also unloads the suspension.
If you can't lift the bike, set tire pressure to what your manual specifies, and check it monthly. Check tire age and tread now, and order replacements in the off-season if they're due.
Step 11: Seal the Openings and Add a Reminder Tag
Rodents and moisture look for openings. The exhaust outlet and the airbox intake are the usual targets, because they lead somewhere warm and quiet. Block them with a method recommended for your bike, and avoid anything that can fall out or be sucked into the engine.
Then add the most important part: a bright reminder tag. Attach it to the handlebar or the ignition so it's the first thing you see in spring. An engine started with a plug in the exhaust or airbox can be damaged quickly, and a forgotten plug is among the most common storage errors.
Step 12: Choose the Right Cover
A cover should be breathable. Plastic tarps trap moisture against the bike, which invites rust and mildew. Pick a cover sized for your bike, and put it on only after the bike is clean and completely dry. Indoors, a light, soft cover is usually enough to keep off dust. Outdoors, you'll need one made for the weather, and you should check under it from time to time.
Common Mistakes to Avoid
Four errors turn up again and again. The first is storing the bike dirty or even slightly damp, since moisture hides under grime and shows up as rust by spring. The second is adding stabilizer and never running the engine, so the treated fuel never reaches the fuel system.
The third is a plastic tarp in place of a breathable cover, because trapped condensation does more harm than dust ever will. The fourth is forgetting the plugs or the reminder tag. An engine started with a plug in the exhaust or airbox can be damaged fast, so the tag is not optional.
Spring Wake-Up Checklist
When the weather turns, work through this list before the first ride:
- Remove every plug and the reminder tag from the exhaust and airbox, and check the airbox for nests.
- Reinstall or reconnect the battery, charge it, and check the terminals.
- Check oil and coolant levels, and look underneath for leaks.
- Set tire pressure, inspect the tread and sidewalls, and lube and adjust the chain if your bike has one.
- Test the brakes, lights, signals, and horn, and confirm the levers and throttle move freely.
- Start the engine, let it settle, and listen for anything unusual before you ride.
If anything on that list looks wrong, stop and take the bike to your dealer. Your first ride is also a good time to read our guide to OEM components for wet weather motorcycle riding, since spring brings rain. When you're planning the season ahead, our fall motorcycle color tours prep guide is a good companion read.
Genuine Parts for Your Storage List
A storage job tends to turn up a few parts: a filter, a battery, a chain set, brake pads, a cover or stand. Start with your exact make, model, and year, then match each item to your manual. Browse genuine components in the Honda motorcycle parts catalog, the Yamaha motorcycle parts catalog, or the Suzuki motorcycle parts catalog. Kawasaki riders can try the Kawasaki motorcycle parts catalog.
Frequently Asked Questions
How long can a motorcycle sit before it needs the full storage procedure?
If it will sit more than a month or two, follow the full procedure. Your manual may give a shorter or longer figure for your model.
Should I fill the tank or drain it?
Many owners fill it and add stabilizer to cut down on condensation. Some carbureted bikes call for draining the float bowls, so follow your manual.
Is a battery maintainer better than removing the battery?
Both work. A maintainer is convenient, and removal works well if you have a cool, dry place and will charge the battery now and then.
Do I need to start the bike during winter?
Short idling runs can do more harm than good, because the engine may not reach full temperature to burn off moisture. Check your manual for its advice.
Can Carolina Cycle winterize my motorcycle?
No. We sell genuine OEM parts online, and your dealer handles service and installation. We're glad to help you identify the right parts.
Put the Bike to Bed, and Wake It Easy
A good storage routine is a sequence: spot, wash, fuel, oil, coolant, battery, drivetrain, brakes, tires, openings, cover. Do it in order, write down what you find, and keep the manual open. Come spring, the checklist above takes less than an hour, and the bike is ready for its first ride.
When you want help matching genuine parts to your motorcycle's storage list, reach out through our OEM parts support page. Carolina Cycle serves riders online, and we'll point you to the right components.
