


Starting your journey into powersports customization doesn't require advanced mechanical skills or expensive tools. With genuine OEM accessories and basic hand tools, beginners can successfully install meaningful upgrades that enhance performance, comfort, and functionality while maintaining warranty coverage and reliability. Understanding what makes OEM parts superior becomes especially important for DIY installations, where proper fit and quality materials ensure successful projects and long-term satisfaction.
The key to successful DIY projects lies in selecting accessories specifically designed for easy installation while providing maximum impact on your riding experience. Carolina Cycle's decades of experience helping customers with DIY installations has identified the most beginner-friendly upgrades that deliver professional results with basic tools and clear instructions.
Whether you're looking to improve comfort during long rides, enhance your vehicle's appearance, or add practical functionality, these carefully selected OEM accessories provide the perfect starting point for building your mechanical confidence while improving your powersports experience.
1. Essential Tools and Workspace Setup
Basic Tool Requirements for Most Projects
Most beginner-friendly OEM accessories require only common hand tools that many households already own. Investing in quality basic tools ensures successful installations and provides a foundation for future projects.
Essential Tool Kit:
- Socket set: Metric and standard sizes from 8mm to 19mm most common
- Screwdriver set: Phillips and flathead in various sizes
- Allen key set: Metric hex keys from 3mm to 10mm
- Adjustable wrench: 8-inch and 10-inch sizes handle most applications
- Torque wrench: Critical for proper fastener tightening specifications
Workspace Preparation and Safety
Creating a proper workspace ensures safe, efficient installations while protecting both you and your powersports vehicle from damage during the process.
Workspace Setup Essentials:
- Level, stable surface: Garage floor or paved driveway provides ideal working conditions
- Adequate lighting: LED work lights eliminate shadows and improve visibility
- Organization system: Parts trays and magnetic bowls keep small parts secure
- Safety equipment: Eye protection and work gloves for all installations
- Clean work area: Free from debris that could fall into open components
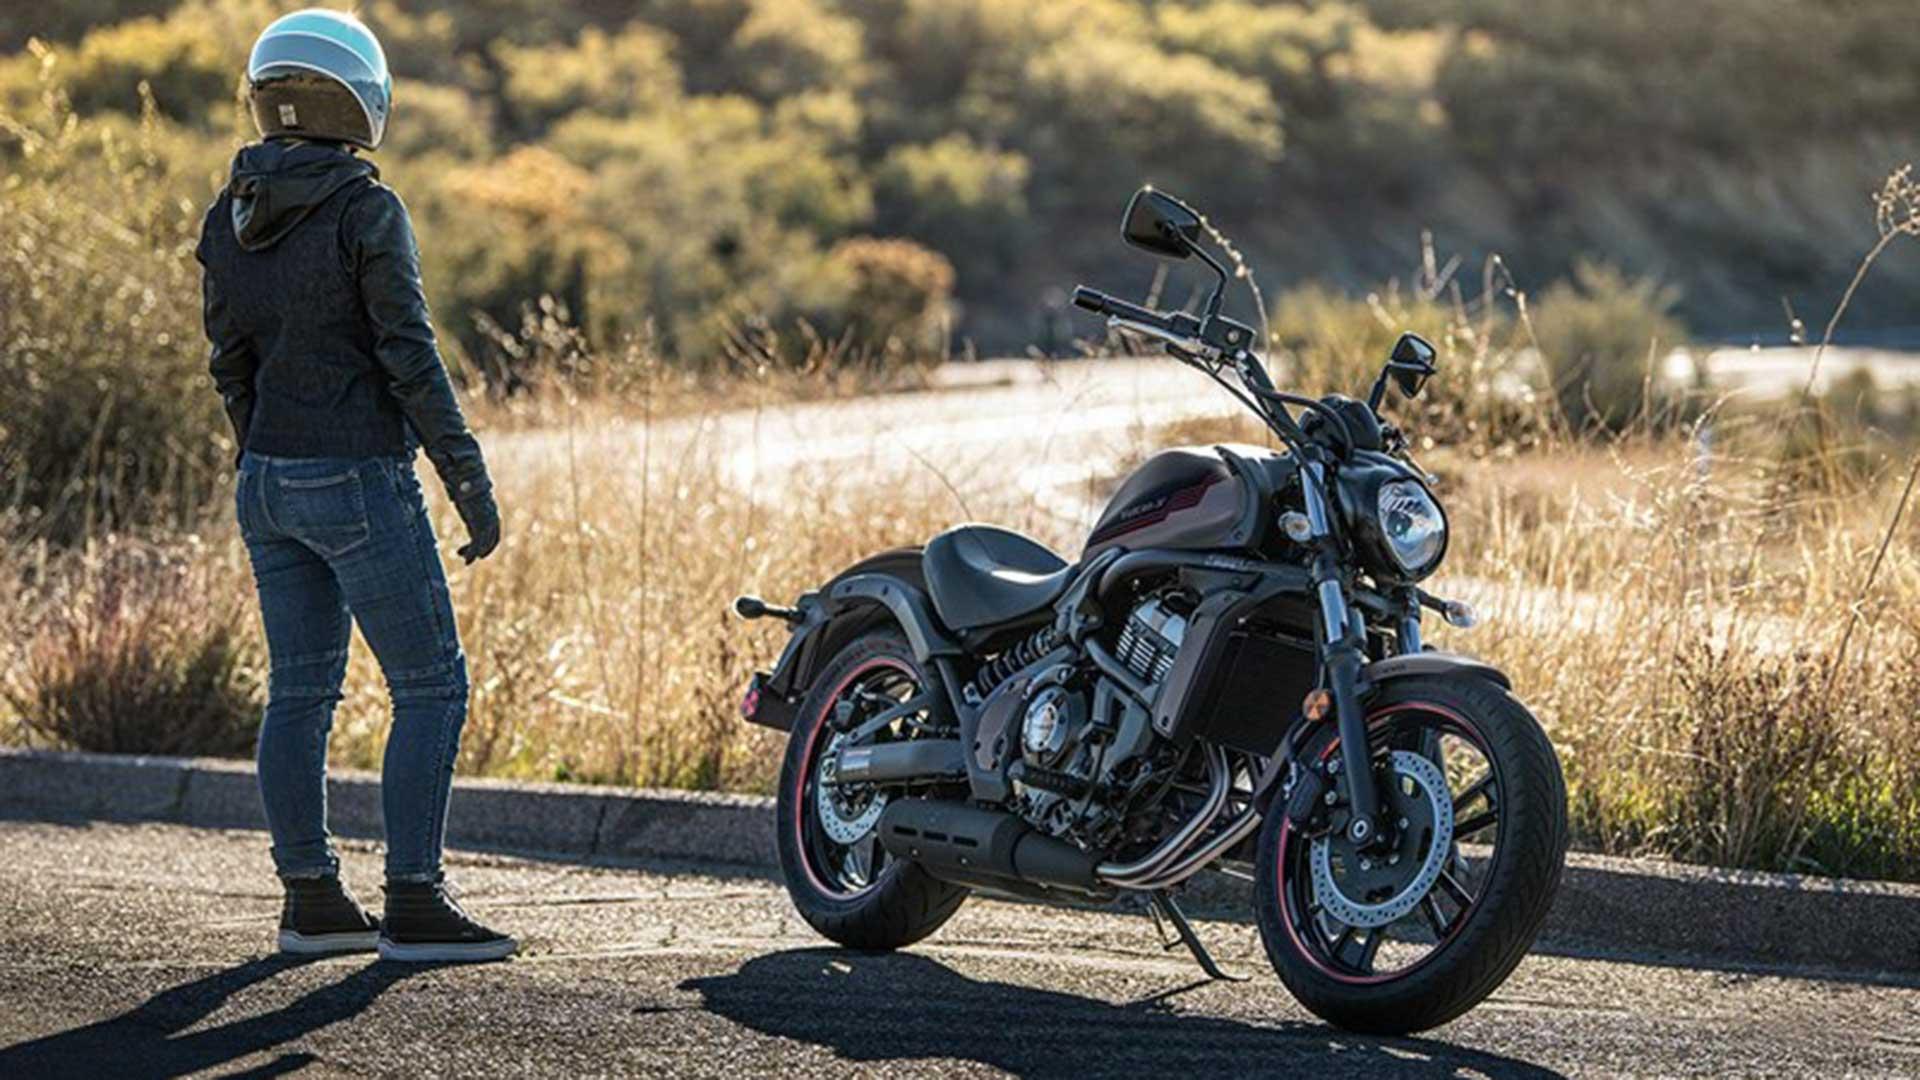
2. Beginner-Friendly Motorcycle Accessories
Heated Grips Installation
Heated grips represent one of the most valuable comfort upgrades for motorcycle riders, and OEM systems are designed for straightforward installation with clear instructions and proper wiring harnesses.
Installation Difficulty: Beginner (2-3 hours) Required Tools: Basic hand tools, electrical connections Benefits: Year-round riding comfort, increased safety in cold conditions
Installation Overview:
- Remove existing grips using grip removal spray or compressed air
- Install heating elements following manufacturer's color-coded wiring
- Connect power supply to designated fuse box connections
- Test system operation before final assembly
The Honda motorcycle electrical components are designed with plug-and-play connectors that eliminate guesswork during installation while ensuring proper electrical integration.
Windscreen and Wind Deflector Upgrades
Windscreens provide significant comfort improvements for touring and commuting riders while requiring only basic mounting hardware installation.
Installation Difficulty: Beginner (1-2 hours) Required Tools: Socket set, Allen keys Benefits: Reduced wind fatigue, improved weather protection, enhanced comfort
Installation Process:
- Remove existing mounting hardware if present
- Position new windscreen using provided mounting brackets
- Secure with OEM hardware to manufacturer torque specifications
- Adjust angle for optimal wind deflection based on rider height
Luggage and Storage System Installation
OEM luggage systems provide essential storage capacity while maintaining vehicle balance and safety characteristics through proper mounting point integration.
Installation Difficulty: Beginner to Intermediate (2-4 hours) Required Tools: Socket set, torque wrench Benefits: Increased storage capacity, secure cargo attachment, maintained vehicle balance
Key Installation Points:
- Utilize factory mounting points for structural integrity
- Follow weight distribution guidelines for safe handling
- Ensure proper clearance for suspension movement and steering
- Test all mounting points before loading with cargo
3. Simple ATV and UTV Modifications
LED Light Bar Installation
LED light bars provide dramatic improvements in visibility for trail riding and work applications while offering straightforward mounting and electrical connections.
Installation Difficulty: Beginner (2-3 hours) Required Tools: Basic hand tools, wire strippers Benefits: Improved visibility, enhanced safety, extended operating hours
Installation Considerations:
- Select mounting location that doesn't interfere with suspension travel
- Use provided wiring harness with proper fuse protection
- Route wiring away from heat sources and moving components
- Test operation before final mounting and wire routing
Winch System Installation
While winch installation requires attention to electrical connections, OEM systems include comprehensive instructions and pre-wired harnesses that simplify the process significantly.
Installation Difficulty: Intermediate (3-5 hours) Required Tools: Socket set, torque wrench, electrical tools Benefits: Recovery capability, increased confidence in challenging terrain
Critical Installation Steps:
- Mount winch to factory mounting points for proper load distribution
- Connect power cables directly to battery with provided hardware
- Install winch controller in accessible, protected location
- Test all functions before first use in field conditions
The Yamaha ATV winch systems include detailed installation guides with torque specifications and electrical diagrams that eliminate guesswork during installation.
Protection Accessory Installation
Skid plates, A-arm guards, and other protection accessories provide essential component protection while typically requiring only bolt-on installation procedures.
Installation Difficulty: Beginner (1-2 hours per component) Required Tools: Socket set, torque wrench Benefits: Component protection, reduced maintenance costs, enhanced durability
Installation Best Practices:
- Clean mounting surfaces thoroughly before installation
- Apply thread locker to fasteners as specified in instructions
- Check clearances for suspension movement and steering components
- Periodically inspect mounting hardware for looseness
4. Scooter Comfort and Convenience Upgrades
Storage Solution Installation
Scooter storage accessories improve urban riding practicality while requiring minimal installation complexity and basic mounting hardware.
Installation Difficulty: Beginner (1 hour) Required Tools: Basic hand tools Benefits: Increased storage capacity, improved commuting convenience
Storage Installation Options:
- Under-seat organizers that utilize existing space efficiently
- Rear cargo boxes that mount to existing rack systems
- Front baskets that attach to handlebar or front panel mounting points
- Tank bags that use magnetic or strap mounting systems
Comfort Enhancement Accessories
Seat cushions, backrests, and ergonomic accessories significantly improve riding comfort with straightforward installation procedures.
Installation Difficulty: Beginner (30 minutes to 1 hour) Required Tools: Basic hand tools Benefits: Improved comfort, reduced fatigue, enhanced riding experience
5. Side-by-Side Practical Additions
Door and Enclosure System Installation
Side-by-side door systems provide weather protection and security while designed for user-friendly installation with clear instructions and proper hardware.
Installation Difficulty: Beginner to Intermediate (2-4 hours) Required Tools: Basic hand tools, drill for some applications Benefits: Weather protection, security, improved operator comfort
Installation Considerations:
- Verify proper alignment with existing roll cage structure
- Ensure adequate clearance for entry and exit
- Test latch operation and adjustment before final installation
- Check manufacturer specifications for weight limits and safety requirements
Audio System Integration
Modern side-by-sides accommodate audio systems designed for outdoor environments with installation procedures suited for beginner mechanical skills.
Installation Difficulty: Intermediate (3-4 hours) Required Tools: Basic tools, electrical connections Benefits: Enhanced recreational experience, communication capability
6. Installation Tips and Best Practices
Reading and Understanding Instructions
Successful DIY installations begin with thoroughly reading and understanding manufacturer instructions before starting any work.
Instruction Review Process:
- Read complete instructions before beginning work
- Identify all required tools and components
- Understand torque specifications and critical adjustment points
- Note any special procedures or safety requirements
Taking Your Time and Working Safely
Rushing installations leads to mistakes, damaged components, and potential safety hazards. Plan adequate time and work methodically through each step.
Safety and Quality Guidelines:
- Allow adequate time for proper installation without rushing
- Double-check all connections and fasteners before operation
- Test all functions in controlled environment before field use
- Keep detailed records of installation dates and procedures
When to Seek Professional Help
Understanding your limitations and knowing when to seek professional assistance ensures safe, reliable installations while building confidence for future projects.
Professional Help Indicators:
- Electrical work beyond basic connections
- Modifications requiring frame alterations
- Installations affecting safety-critical systems
- Projects requiring specialized tools or equipment
7. Maintenance After Installation
Regular Inspection Schedules
Newly installed accessories require periodic inspection to ensure continued proper operation and identify any developing issues early.
Inspection Schedule Recommendations:
- Initial inspection after first 100 miles or 10 hours of operation
- Monthly visual inspections of mounting hardware and connections
- Seasonal detailed inspections including torque checking
- Annual professional inspection for complex installations
Troubleshooting Common Issues
Understanding common installation issues helps identify problems early and maintain optimal accessory performance.
Common Issues and Solutions:
- Loose mounting hardware: Regular torque checking prevents loosening
- Electrical connection problems: Clean connections and check for corrosion
- Vibration-related issues: Use appropriate thread locker and anti-vibration materials
- Alignment problems: Follow adjustment procedures in manufacturer instructions
8. Building Confidence for Future Projects
Starting Small and Building Skills
Beginning with simple installations builds mechanical confidence and provides foundation knowledge for more complex future projects.
Skill Building Progression:
- Start with simple bolt-on accessories requiring basic tools
- Progress to installations involving basic electrical connections
- Advance to projects requiring minor adjustments or calibration
- Build toward more complex installations as experience grows
Learning Resources and Support
Utilizing available resources ensures successful installations while building knowledge for future DIY projects.
Educational Resources:
- Manufacturer installation videos and online tutorials
- Technical forums and community support groups
- Local dealer technical support and guidance
- Professional maintenance guides for understanding component relationships
9. Frequently Asked Questions
What's the easiest first DIY project for a complete beginner?
Installing handlebar grips or basic storage accessories typically provides the best introduction to DIY installations. These projects require minimal tools, have low risk of damage, and provide immediate visible improvements to your powersports vehicle.
How do I know if I have the right tools for an installation?
OEM accessory instructions include complete tool lists with specific sizes and types required. Most beginner projects require only basic hand tools, but reviewing instructions before starting ensures you have everything needed for successful completion.
Will installing OEM accessories void my vehicle warranty?
Properly installed genuine OEM accessories typically don't void manufacturer warranties and may actually be covered under warranty themselves. Always use genuine parts and follow manufacturer installation procedures to maintain warranty coverage.
How long should I expect my first DIY installation to take?
Plan 2-3 times longer than manufacturer estimates for your first installations. This allows adequate time to read instructions thoroughly, work carefully, and address any unexpected challenges without rushing the process.
What should I do if something doesn't fit properly during installation?
Stop and double-check part numbers, installation instructions, and component orientation before forcing anything. Contact the parts supplier or manufacturer for guidance rather than attempting to modify components to fit.
10. Conclusion
DIY installation of OEM powersports accessories provides an excellent introduction to mechanical work while delivering meaningful improvements to your riding experience. Starting with beginner-friendly projects builds confidence and mechanical understanding that serves as a foundation for more complex future upgrades and maintenance.
The key to successful DIY installations lies in selecting quality OEM components designed for straightforward installation, taking time to understand instructions thoroughly, and working methodically through each step. Genuine OEM accessories provide superior fit, quality, and reliability compared to aftermarket alternatives while including comprehensive installation support.
At Carolina Cycle, our experienced team understands that many customers prefer hands-on involvement in their vehicle modifications. Our comprehensive inventory of genuine OEM accessories includes detailed installation instructions and technical support to ensure your DIY projects succeed. We're always available to provide guidance, answer questions, and supply any additional components needed for successful installations.
Ready to start your DIY journey with confidence-building projects that deliver real improvements? Contact our OEM accessories specialists today to discuss beginner-friendly upgrade options for your specific vehicle. From our Waynesville, North Carolina location, we've been supporting DIY enthusiasts throughout the the world since 1970, providing genuine parts, expert guidance, and comprehensive support for successful installations that enhance your powersports experience.
