


The electrical system of your Honda ATV is a complex network of components that powers everything from ignition and lighting to electronic fuel injection and digital displays. When electrical issues arise, using genuine Honda OEM electrical parts ensures proper performance, compatibility, and longevity. At Carolina Cycle, we've specialized in Honda OEM parts since 1970, offering expertise and authentic components to solve even the most challenging electrical problems.
This comprehensive guide will help you understand Honda ATV electrical systems, identify common issues, and select the correct OEM parts for reliable repairs.
Understanding Honda ATV Electrical Systems
Honda ATVs utilize sophisticated electrical systems that have evolved significantly over the generations. Understanding the basic architecture helps pinpoint problems when they occur.
Key Electrical System Components
Primary Power Generation and Storage
Stator/Generator Assembly Part #: 31120-HN8-A41 (model specific)
The stator generates AC power as the engine runs, providing the electrical current needed to power all systems and recharge the battery.
- Converts mechanical energy to electrical energy
- Located inside the engine case near the flywheel
- Contains precision-wound copper coils
- Critical for maintaining proper charging voltage
Regulator/Rectifier Part #: 31600-HN5-671 (model specific)
This component converts the AC power from the stator to usable DC power and regulates voltage to prevent overcharging.
- Controls charging system voltage (typically 14.0-14.5V)
- Prevents electrical system damage from voltage spikes
- Features built-in heat dissipation design
- Contains sensitive solid-state components
Battery Part #: 31500-HP5-601 (model specific)
The battery stores electrical energy and provides power when the engine isn't running or at low RPM.
- Sealed, maintenance-free design
- Specific cold-cranking amps (CCA) for reliable starting
- Engineered for the vibration experienced on ATVs
- Precision-sized for proper fitment in battery compartment
Ignition System Components
CDI Unit/ECM Part #: 30410-HN8-003 (model specific)
The CDI (Capacitive Discharge Ignition) or ECM (Engine Control Module) controls ignition timing and, in fuel-injected models, injection parameters.
- Contains complex microprocessors
- Stores specific ignition mapping for optimal performance
- Monitors engine sensor inputs
- Controls precise ignition timing
Ignition Coil Part #: 30510-HN5-671 (model specific)
The ignition coil transforms low voltage from the electrical system to the thousands of volts needed to fire the spark plug.
- Precision-wound internal coils
- Contains specialized insulation for high-voltage operation
- Designed for specific spark plug wire length
- Calibrated for Honda's ignition system specifications
Pulse Generator/Crank Position Sensor Part #: 30300-HN5-003 (model specific)
This sensor provides engine position information to the CDI/ECM for proper ignition timing.
- Highly sensitive magnetic pickup
- Precisely calibrated air gap
- Designed for specific flywheel interaction
- Critical for proper engine timing
Lighting and Accessory Components
Main Wiring Harness Part #: 32100-HN8-A40 (model specific)
The wiring harness connects all electrical components through a complex network of wires and connectors.
- Color-coded wires for proper identification
- Waterproof connectors at critical junctions
- Reinforced at stress points
- Integrated fuse holders for circuit protection
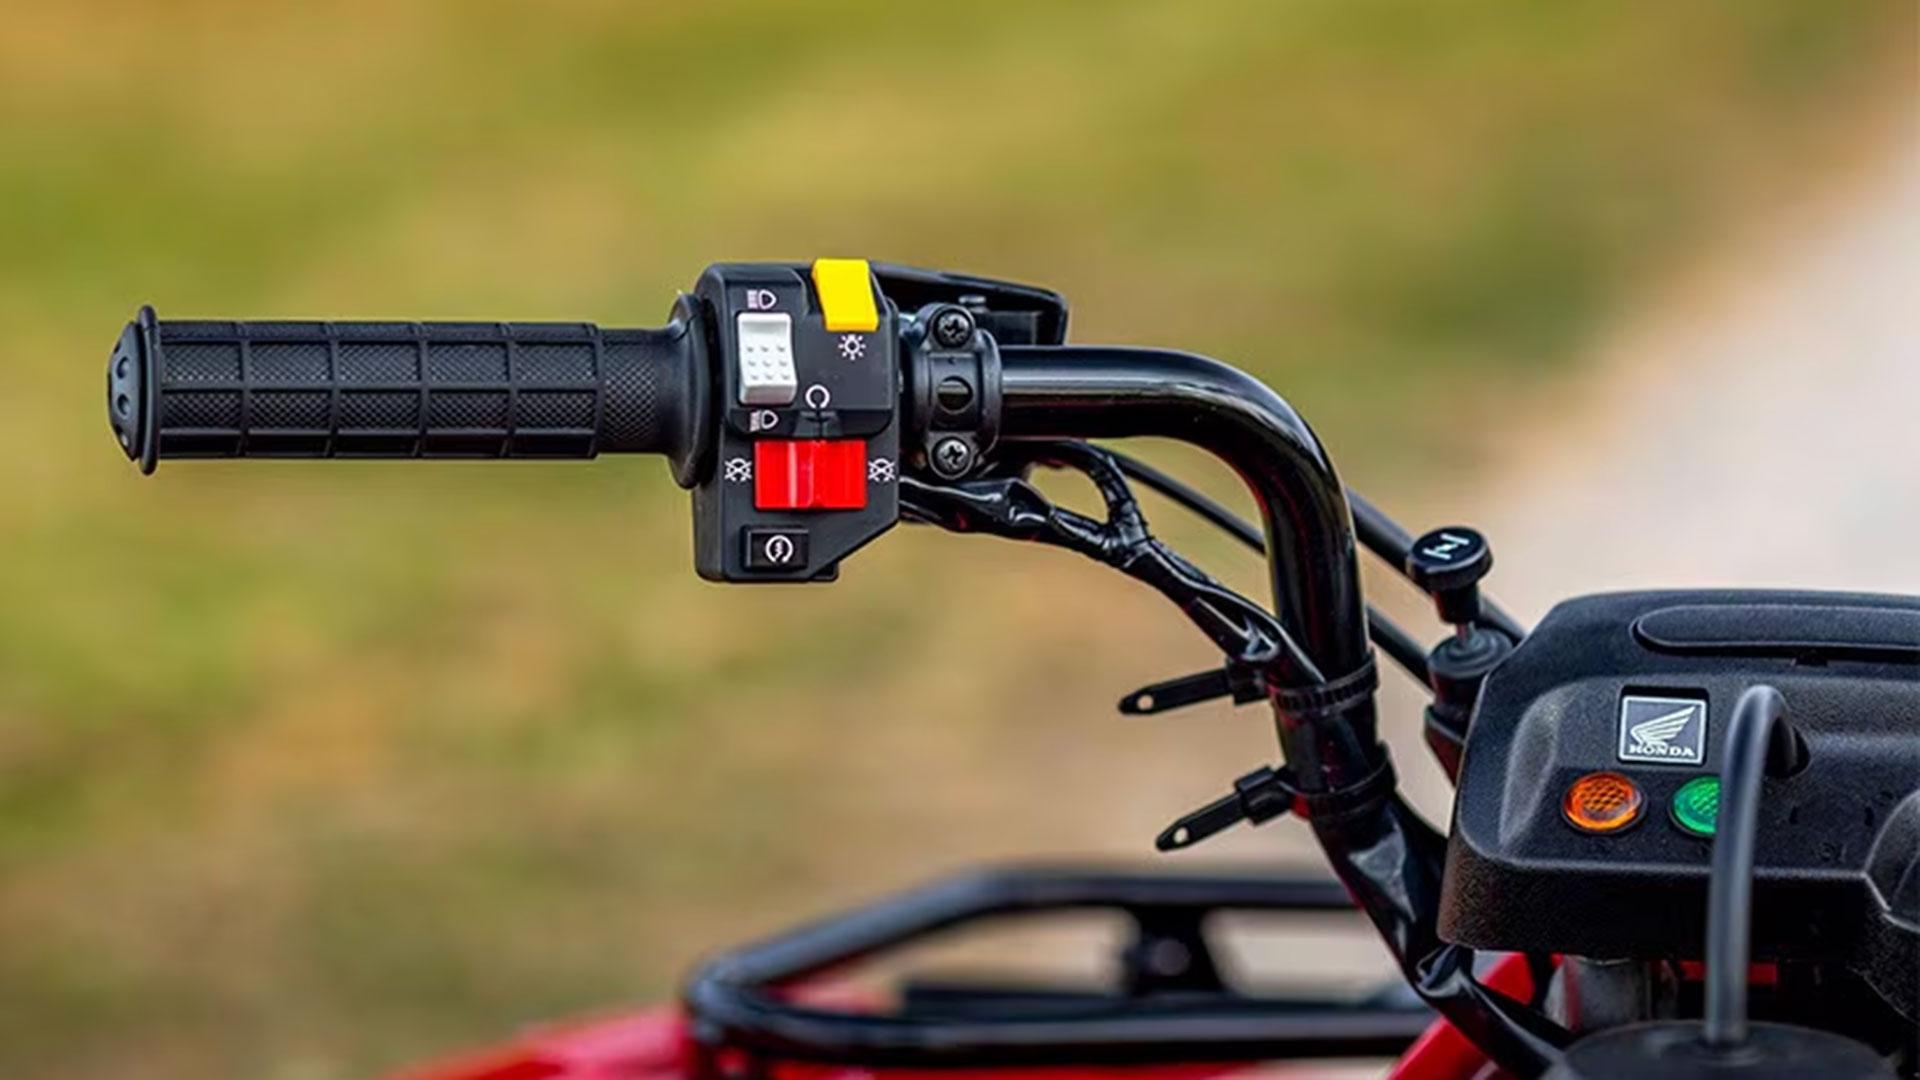
Handlebar Switch Assembly Part #: 35100-HN5-670 (left), 35150-HN5-670 (right) (model specific)
These switches control lights, starter, and other electrical functions.
- Weather-sealed design
- Ergonomic layout specific to each model
- Integrated indicator lights where applicable
- Direct plug-in connectors to main harness
Starter Relay/Solenoid Part #: 35850-HN5-671 (model specific)
This component switches the high-current circuit for the starter motor when activated by the start button.
- Heavy-duty contacts for high current flow
- Electromagnetic activation coil
- Built-in overload protection
- Precise engagement mechanism
Common Honda ATV Electrical Issues and OEM Solutions
1. Charging System Problems
Symptom: Battery Dies Repeatedly
Potential Causes and OEM Solutions:
- Faulty Stator
- Diagnostic signs: Low voltage output, inconsistent readings
- Testing method: Voltage output test with multimeter
- OEM Solution: Honda Stator Assembly (31120-HN8-A41)
- Why OEM matters: Precision winding and correct air gap ensure proper charging output
- Defective Regulator/Rectifier
- Diagnostic signs: Overcharging (>15V) or undercharging (<13.5V)
- Testing method: Voltage regulation test at various RPMs
- OEM Solution: Honda Regulator/Rectifier (31600-HN5-671)
- Why OEM matters: Factory-calibrated regulation prevents electrical system damage
- Worn Battery
- Diagnostic signs: Unable to hold charge, low voltage after charging
- Testing method: Load test and voltage drop test
- OEM Solution: Honda OEM Battery (31500-HP5-601)
- Why OEM matters: Designed specifically for the electrical demands of your model
Symptom: Dim Lights That Flicker or Fade
Potential Causes and OEM Solutions:
- Damaged Stator
- Diagnostic signs: Lights brighten with RPM, dim at idle
- Testing method: AC voltage output measurement
- OEM Solution: Honda Stator Assembly with Flywheel (31100-HN8-000)
- Why OEM matters: Perfect alignment with engine components
- Loose Connections
- Diagnostic signs: Intermittent operation, corrosion at terminals
- Testing method: Visual inspection and connection testing
- OEM Solution: Honda Main Wiring Harness (32100-HN8-A40)
- Why OEM matters: Factory connectors ensure proper fit and sealing
2. Starting System Issues
Symptom: ATV Cranks But Won't Start
Potential Causes and OEM Solutions:
- Failed Ignition Coil
- Diagnostic signs: Weak or no spark at plug
- Testing method: Spark test with tester
- OEM Solution: Honda Ignition Coil (30510-HN5-671)
- Why OEM matters: Precise voltage output for reliable spark generation
- Defective CDI/ECM Unit
- Diagnostic signs: No spark, erratic timing
- Testing method: Substitution test with known good unit
- OEM Solution: Honda CDI Unit (30410-HN8-003)
- Why OEM matters: Contains model-specific programming for your ATV
- Failed Pulse Generator
- Diagnostic signs: Intermittent spark, timing issues
- Testing method: Resistance measurement, voltage output test
- OEM Solution: Honda Pulse Generator (30300-HN5-003)
- Why OEM matters: Precise calibration for correct signal timing
Symptom: No Response When Pressing Start Button
Potential Causes and OEM Solutions:
- Faulty Starter Relay
- Diagnostic signs: No click sound when pressing start button
- Testing method: Relay bypass test
- OEM Solution: Honda Starter Relay (35850-HN5-671)
- Why OEM matters: Designed for the specific amperage requirements of your model
- Defective Handlebar Switch
- Diagnostic signs: Multiple electrical functions not working
- Testing method: Continuity test across switch terminals
- OEM Solution: Honda Handlebar Switch Assembly (35100-HN5-670)
- Why OEM matters: Direct-fit replacement with correct connector terminals
- Neutral or Brake Safety Switch Issue
- Diagnostic signs: Starts in some gear positions but not others
- Testing method: Bypass test of safety switches
- OEM Solution: Honda Neutral Switch (35750-HN5-671) or Brake Switch (35340-HN5-671)
- Why OEM matters: Proper activation point and weather sealing
3. Lighting and Accessory Problems
Symptom: Headlights or Brake Lights Not Working
Potential Causes and OEM Solutions:
- Blown Fuse
- Diagnostic signs: Multiple related systems not functioning
- Testing method: Visual inspection, continuity test
- OEM Solution: Honda Fuse Box Assembly (38200-HN8-003) with correct amperage fuses
- Why OEM matters: Proper protection rating for your electrical system
- Defective Light Switch
- Diagnostic signs: Lights work intermittently when toggle is moved
- Testing method: Switch continuity test
- OEM Solution: Honda Lighting Switch (35130-HN5-671)
- Why OEM matters: Waterproof design specific to your model
- Failed Bulbs or LED Assembly
- Diagnostic signs: Some light functions work, others don't
- Testing method: Visual inspection, test with known good bulb
- OEM Solution: Honda Headlight Assembly (33120-HN8-A41) or Taillight Assembly (33701-HN8-A41)
- Why OEM matters: Correct light output and beam pattern
Symptom: Intermittent Electrical Failures Across Multiple Systems
Potential Causes and OEM Solutions:
- Damaged Wiring Harness
- Diagnostic signs: Problems occur when harness is moved
- Testing method: Visual inspection, continuity testing
- OEM Solution: Honda Main Wiring Harness (32100-HN8-A40)
- Why OEM matters: Exact routing, proper wire gauge, and connector types
- Corroded Ground Connections
- Diagnostic signs: Multiple intermittent issues across systems
- Testing method: Voltage drop test across ground points
- OEM Solution: Honda Ground Cable (32610-HN8-000)
- Why OEM matters: Correct terminal design and wire gauge for electrical loads
Model-Specific Electrical System Guides
1. Honda FourTrax Foreman Series (TRX500)
The Foreman series features a robust electrical system designed for heavy-duty utility use.
Key Electrical Components:
- Electronic Control Module: 30400-HR3-F40
- Starter Motor Assembly: 31200-HP5-601
- Main Wiring Harness: 32100-HR3-A40
- Regulator/Rectifier: 31600-HP5-601
- Switch Assembly (Left): 35200-HR3-F01
- Switch Assembly (Right): 35250-HR3-F01
Common Electrical Issues:
- Starter relay failures in high-humidity environments
- Connector corrosion at front differential actuator
- Intermittent neutral switch operation after water crossings
2. Honda FourTrax Rancher Series (TRX420)
The Rancher combines sophisticated electronics with a user-friendly design.
Key Electrical Components:
- Stator Assembly: 31120-HP5-601
- ECM (Fuel Injected Models): 30400-HN8-A01
- Switch Assembly: 35100-HP5-600
- Ignition Coil: 30510-HP5-601
- Speed Sensor: 37700-HR3-A01
- Display Unit: 37600-HP5-A01
Common Electrical Issues:
- ESP shift motor failures in muddy conditions
- Fuel pump relay issues on fuel-injected models
- Display unit failure after exposure to pressure washing
3. Honda TRX450R (Sport Model)
Performance-oriented sport model with specialized electrical components.
Key Electrical Components:
- CDI Unit: 30410-HP1-003
- Stator Assembly: 31120-HP1-004
- Ignition Coil: 30510-HP1-003
- Wire Harness (Main): 32100-HP1-000
- Kill Switch Assembly: 35150-HP1-000
Common Electrical Issues:
- Stator failure during high-RPM operation
- CDI unit sensitivity to moisture
- Voltage regulator heat-related failures
DIY Electrical System Troubleshooting Guide
Essential Tools for Electrical Diagnostics
Properly diagnosing Honda ATV electrical issues requires:
- Digital multimeter with DC/AC voltage, resistance, and continuity functions
- Test light or circuit tester
- Battery load tester
- Wire terminal tools for connector removal
- Honda service manual with electrical diagrams
Systematic Diagnostic Approach
- Verify the Complaint
- Document exactly when and how the issue occurs
- Note any patterns related to temperature, moisture, or operation
- Check the Basics First
- Battery condition and connections
- Fuses and fusible links
- Ground connections
- Visible wire damage
- Isolate the System
- Use electrical diagrams to identify related components
- Test one circuit or component at a time
- Document all readings for comparison
- Test Components Methodically
- Start at the power source and work outward
- Test for both power and ground at components
- Check connectors for proper seating and condition
- Verify the Repair
- After replacement, test thoroughly under various conditions
- Ensure no new issues have been introduced
- Monitor the repair over multiple uses
Why Choose Carolina Cycle for Honda ATV Electrical Parts
When electrical issues strike, genuine Honda OEM electrical parts from Carolina Cycle provide:
- Exact Specifications: Factory-engineered components with precise electrical values
- Perfect Fitment: Direct-replacement parts with correct connectors
- Proper Materials: Components designed for the harsh environments ATVs encounter
- Comprehensive Compatibility: Parts engineered to work with all related systems
- Long-Term Reliability: Quality that prevents repeat failures
Our extensive inventory includes:
- Complete wiring harnesses for all Honda ATV models
- Electronic control modules and CDI units
- Stator and charging system components
- Switches, sensors, and relays
- Lighting components and displays
- Specialized electrical tools
Order Your Honda OEM ATV Electrical Parts Today
Don't let electrical issues keep your Honda ATV sidelined. Trust Carolina Cycle for the genuine Honda OEM electrical components you need for reliable repairs. Our knowledgeable staff can help identify the exact parts required for your specific model and issue.
Contact our Honda parts specialists or browse our complete selection online. We ship nationwide and offer local pickup at our Waynesville, North Carolina location.
When ordering, please have your ATV's VIN number ready to ensure perfect compatibility with your specific model and year.
"Live life on the road, eyes wide open, hold on tight, and if you need a fix -- which we all do at one time or another -- buy your parts cheap, get your hands dirty, and fix it yourself."
Note: Part numbers listed are examples and may vary by specific model and year. Please provide your VIN when ordering to ensure proper fitment.
