


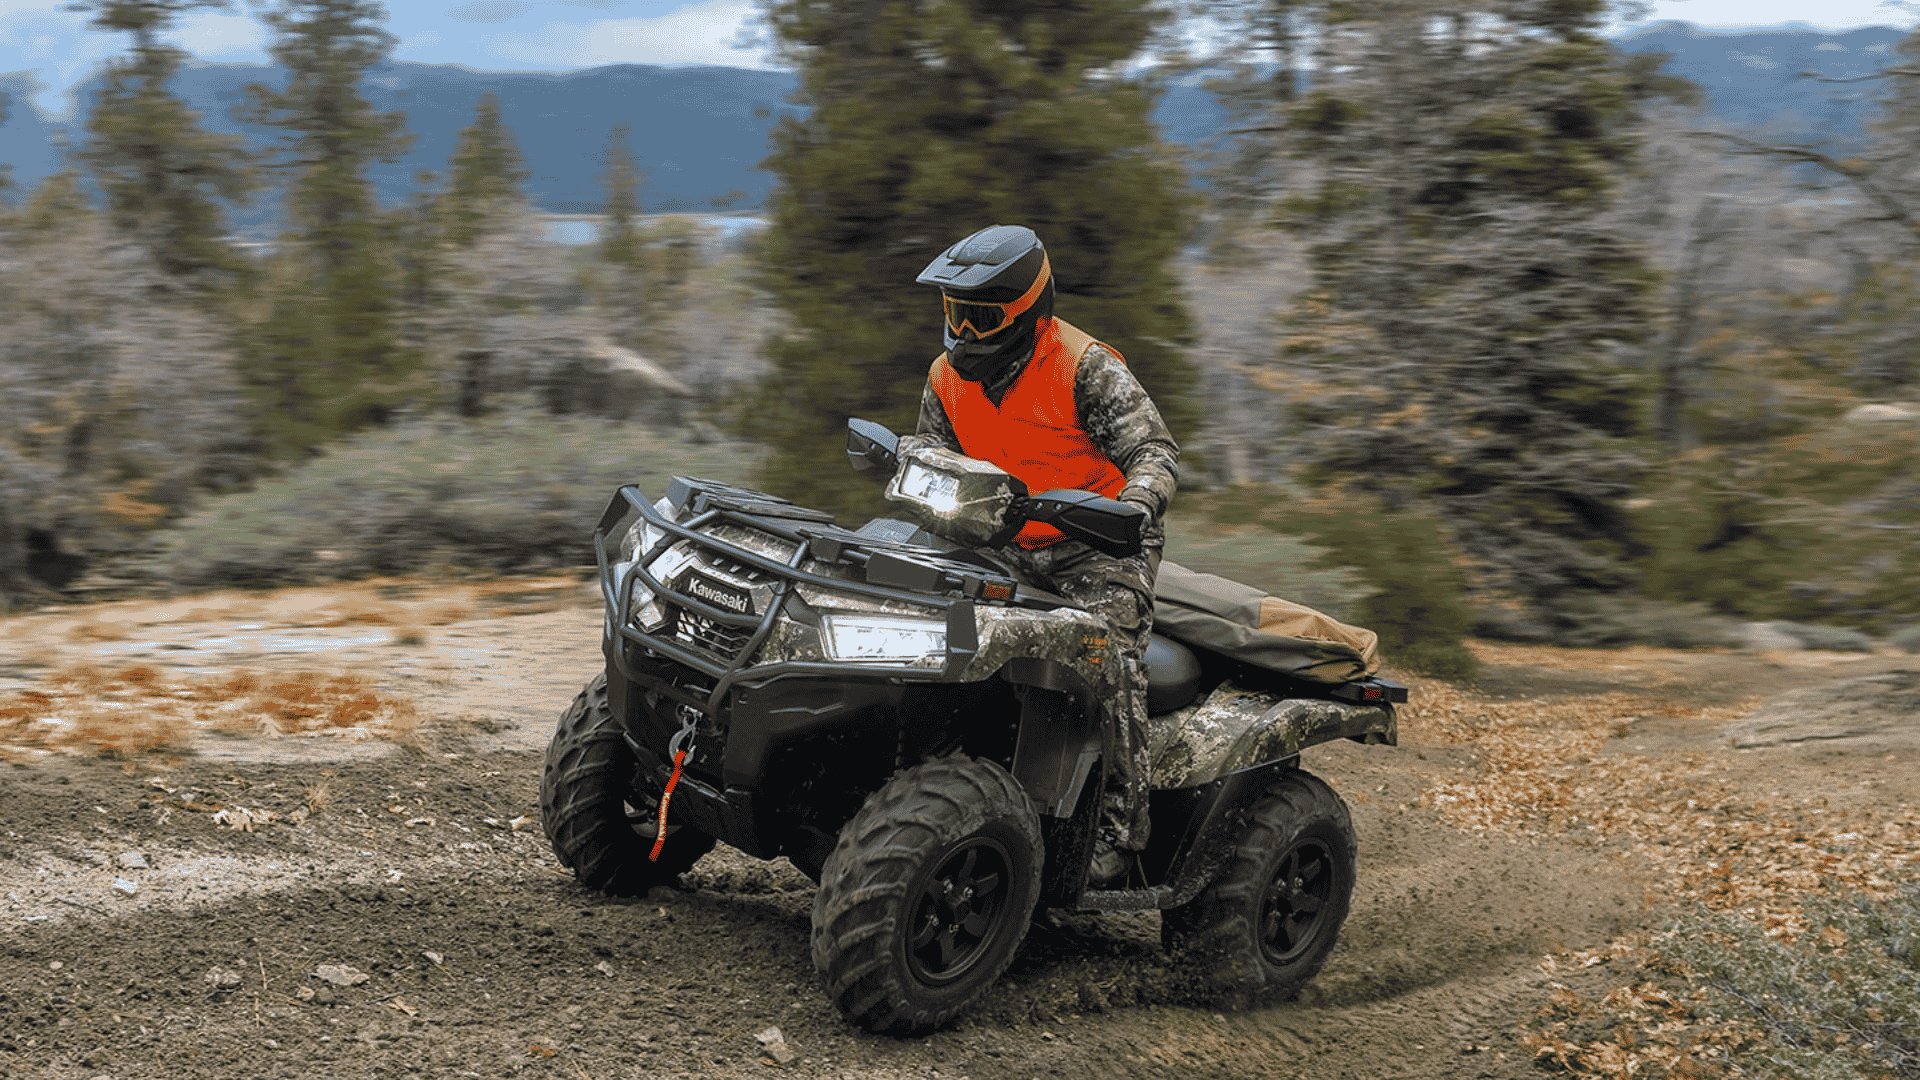
Nothing ends a great summer ride faster than a mechanical problem miles from the nearest road. Whether you ride a motorcycle on backcountry routes or an ATV deep in the trails, being stranded is at best an inconvenience and at worst a genuine safety concern. A well-built trail repair kit is the difference between a quick fix and a long walk out, and it's one of the smartest investments a rider can make.
Since 1970, Carolina Cycle has helped riders prepare for the unexpected, and we've seen how often a small, thoughtfully packed kit saves the day. This guide covers why a repair kit matters, what belongs in it, how motorcycle and ATV kits differ, and how to know when a trailside fix is realistic. The goal is simple: get you home under your own power whenever possible.
Why a Trail Repair Kit Belongs on Every Ride
Summer riding takes you farther from help than any other season. Longer days and dry trails encourage bigger adventures, which means more miles between you and assistance if something goes wrong. Cell service is unreliable in the backcountry, and the same heat that makes for great riding can turn a breakdown into a serious situation if you're stuck out in it for hours.
Most trailside problems are minor: a flat tire, a loose bolt, a fouled plug, or a small part that has worked its way free. The catch is that a minor problem without the right tool or spare becomes a major one. A repair kit turns those common issues back into the small inconveniences they should be, which is exactly why one belongs on every ride, no matter how familiar the trail.
What to Pack in Your Trail Repair Kit
A good kit balances usefulness against weight and space. You can't carry a full shop, so the aim is to cover the most common and most stranding failures with compact, reliable gear.
Essential Tools
Start with the tools that fit your specific machine, including the sizes of wrenches, sockets, and drivers your bike or ATV actually uses. A quality multi-tool, pliers, and a small adjustable wrench round out the basics. Tools you've actually used on your machine at home are the ones you'll trust on the trail, so test your kit before you rely on it.
Tire and Flat Repair
Flats are among the most common trail failures. Pack a repair kit suited to your tire type, whether that means plugs for tubeless tires or the means to handle a tube, along with a reliable way to reinflate. A flat you can fix in fifteen minutes beats one that ends your day entirely and leaves you pushing a machine out of the woods.
Fasteners, Levers, and Cables
Vibration loosens and loses hardware, so a small selection of the bolts, nuts, and clips your machine uses is worth its tiny weight. Spare levers and cables address failures that would otherwise leave you unable to control the machine safely. Genuine spares matter here because they fit and function exactly as the originals do, with no filing or improvising on the trail.
Fluids and Consumables
Carry the small consumables that fix a surprising range of problems: zip ties, quality tape, a length of wire, and a spare spark plug if your engine uses one. A little chain lube on a long motorcycle ride and a rag or two are easy to pack and often useful. None of these take much space, and any one of them can be the thing that gets you moving again.
Motorcycle Vs. ATV Kit Differences
The right kit depends on what you ride. Motorcycle riders prioritize compactness above all, since space is tight and weight affects handling. Chain maintenance items, tube or tubeless repair suited to the bike, and a minimal tool roll are the priorities, and every ounce is considered before it earns a place.
ATV and side-by-side riders have more carrying capacity, which allows a more complete kit. The larger machines also face different failures, so recovery basics like a tow strap, more substantial tire repair, and a wider tool selection make sense. The heavier, mud-prone nature of trail riding also means spare hardware and sealing supplies earn their place. Matching the kit to the machine and the terrain is what makes it genuinely useful rather than dead weight.
Knowing When to Fix It Vs. Call for Help
A repair kit is powerful, but it doesn't make every problem fixable, and knowing the difference keeps you safe. Flats, loose or lost hardware, a broken lever, a slipped chain, and minor electrical gremlins are the kinds of things a prepared rider handles on the trail. These are the failures worth carrying spares and tools for.
Other problems call for a different response. A seized engine, major structural damage, or anything affecting your ability to control the machine safely means it's time to secure the machine and arrange help rather than improvise a risky repair. Riding with a buddy, telling someone your route before you leave, and carrying a way to signal for help are as important as any tool in the kit. Good judgment is the most valuable thing you bring on any ride.
Choosing OEM Components for Your Kit
The spares in your kit are only worth carrying if they work when you need them. Genuine components fit your machine exactly, which is critical on the trail where you don't have the luxury of test-fitting or making do with a close-enough part. A genuine lever, cable, or plug goes on and works the first time, and that reliability is the whole point of carrying a spare in the first place.
Build your kit around your specific machine by starting with your model and year. You can find genuine spares in our Suzuki motorcycle parts catalog and Yamaha ATV parts catalog, among our other brand catalogs. If you're not sure which spares make sense for your machine and your riding, we're glad to help you put together a kit that fits.
Frequently Asked Questions
What are the most important items in a trail repair kit?
Tire repair and inflation, the right tools for your machine, and a small selection of spare hardware cover the most common failures. From there, spares like levers, cables, and a plug add valuable protection for little weight.
How do I keep my repair kit from rattling loose?
Pack items snugly in a dedicated bag or case, use padding or wrap tools in a rag, and secure the kit to a solid mounting point. A kit that survives the vibration is one that's actually there when you need it.
Should motorcycle and ATV kits really be different?
Yes. Motorcycles reward compact, lightweight kits, while ATVs and side-by-sides can carry more, including recovery gear and a fuller tool selection. Matching the kit to the machine makes it more useful.
Do I need genuine parts for spares, or will generic work?
Genuine spares fit and function exactly like the originals, which matters most on the trail where you can't adjust or test-fit. That reliability is why we recommend OEM components for the spares you carry.
How often should I check my repair kit?
Look it over at the start of the season and periodically through it. Replace anything you've used, check that consumables haven't dried out, and confirm your inflation method still works.
Ride Prepared All Summer
A trail repair kit is peace of mind you can carry. Build it around your machine, cover the common failures with genuine spares and the right tools, and know which problems to fix and which to call in. Do that, and a mechanical hiccup miles from the road becomes a brief stop rather than the end of your season.
When you're ready to assemble the right spares for your machine, contact our team through our OEM parts support page. We've helped riders stay on the trail since 1970, and we'll make sure your kit has exactly what your bike or ATV needs.
