


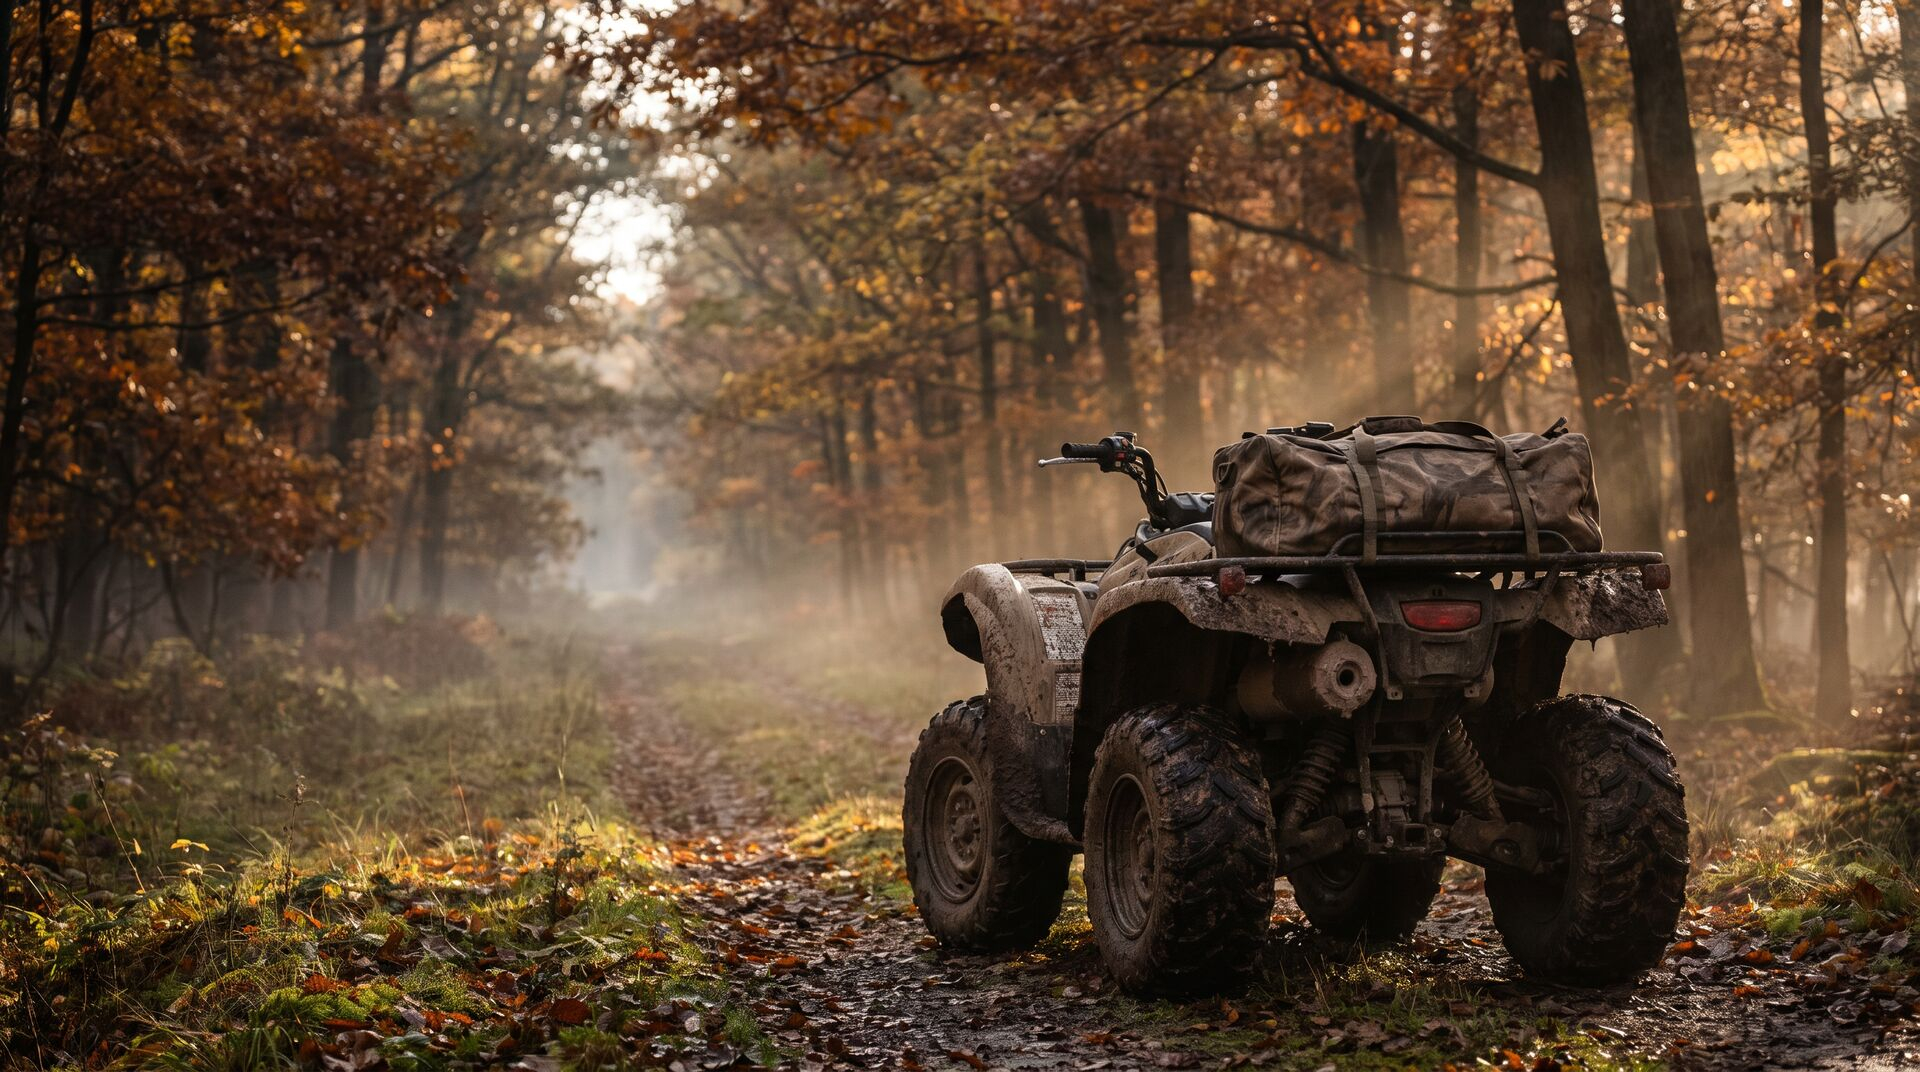
An ATV that goes into storage in good shape comes out ready to ride. One that is parked dirty, with stale fuel and a dying battery, comes out as a spring project. Since 1970, Carolina Cycle has supplied genuine parts to powersports owners across western North Carolina, and winter storage is one of the best uses of them, because the right components make each step simple and the whole job less likely to be skipped.
This page walks through storing a Suzuki ATV in order, from the first wash to the final cover. Each step names the genuine components behind it, so you know what to have on hand before you start. Your owner's manual has the specifics for your model, and your dealer can handle any service you would rather not do yourself.
Why Storage Prep Deserves Its Own Plan
An ATV does not sit still in storage. Fuel breaks down, rubber dries and flat-spots, batteries drain, moisture finds its way into places it should not be, and mice look for a warm home. It adds up over a few months and shows up on the first spring ride as a hard start, a flat tire, or a chewed wire.
The good news is that every one of those problems has a simple answer. Work through the steps below in order, because each one sets up the next. Cleaning comes first so you can see what needs attention, and the cover comes last so nothing you just protected gets disturbed.
Step One: Wash Away the Season
Start by washing off mud, dirt, and organic matter, which holds moisture against metal and rubber all winter. Rinse gently around bearings, seals, and electrical connections, and avoid aiming a high-pressure stream at them. Then dry the machine completely, because trapped water causes rust and corrosion. Our article on ATV mud season protection and recovery has more on cleaning up after hard riding.
Washing doubles as an inspection. Look for torn boots, cracked hoses, worn pads, and damaged fasteners, and make a list. Storage is the ideal time to order genuine replacements, so the machine is fixed before spring rather than on the first warm weekend. You can find what you need in our Suzuki ATV parts catalog.
Step Two: Change the Fluids and Filters
Used engine oil holds acids and moisture that can harm internal parts over a long sit, so most owners change it before storage instead of after. Check your owner's manual for the right type and capacity. Look at coolant, brake fluid, and any drivetrain fluids as well, and service whatever is due.
This is the right moment to replace the oil filter and inspect the air filter. A genuine oil filter and fresh oil go in together, and a clean air filter keeps the intake from collecting winter debris. If you are not comfortable with the oil change, your dealer's service department can do it, and Carolina Cycle can supply the genuine filters and parts you need.
Step Three: Stabilize the Fuel
Fuel left in a tank for months can go stale, leave varnish in the system, and clog the passages that carriers and injectors depend on. Add a fuel stabilizer according to the product's directions, then run the engine long enough for the treated fuel to reach the fuel system. Many owners fill the tank to limit air space inside it, which reduces condensation.
Look over the fuel lines and fittings for cracks or seeps, and replace any that are suspect. A genuine fuel line or clamp fits the way it was designed to, which keeps the system sealed through the cold months.
Step Four: Care for the Battery
A battery left on the machine discharges over the winter, and a deeply discharged battery can be permanently damaged. The simplest approach is a battery maintainer, which keeps the charge topped off without overcharging. Many owners instead remove it and store it in a cool, dry place, charging it every so often.
Either way, clean off any corrosion and check the terminals and cables. If the battery was weak this past season, replace it now, so you are not surprised in spring. A genuine battery is built for your Suzuki's electrical needs, and a few new terminal parts can make a connection reliable again.
Step Five: Tires, Stands, and Suspension
Tires that sit under a machine's weight for months can develop flat spots, and air pressure drifts down over time. Set pressure to the figure in your manual, or slightly higher if your manual recommends it for storage, and check it every so often. Better still, take the weight off the tires by using a stand or blocks under the frame so the tires and suspension are not loaded.
If the tires are worn or aging, order replacements in the off-season. Lubricate the pivots and linkages your manual calls for, and check wheel bearings and boots while the wheels are off the ground.
Step Six: Block Rodents and Moisture
Mice and other small animals love a quiet, warm ATV. They chew wiring, nest in the airbox, and tuck food into the exhaust. Check the airbox, intake, and exhaust opening and block them with a method recommended for your machine.
Moisture is the other enemy. Store the machine in a dry, ventilated place, and use moisture absorbers in the area if your building tends to be damp. Inspect rubber seals, boots, and grommets, because a gap lets moisture and pests inside. Replacing a damaged seal with a genuine part restores the barrier the design relied on.
Step Seven: Cover It the Right Way
A cover keeps dust and light off the machine, but the wrong one can trap moisture against it. Choose a breathable cover that fits your ATV, and put it on only after the machine is clean and fully dry.
Store the machine indoors if you can, on a level surface and away from heaters and open flame. If it must stay outdoors, raise it off the ground and use a cover rated for outdoor use.
Choosing Genuine Components for Storage Season
Start with your exact Suzuki model and year, since filters, fluids, and fasteners vary across the lineup. Build your parts list from the cleaning inspection and the service due, and order early so everything is on the shelf before you need it.
Genuine parts are made to fit your machine and meet the specifications Suzuki set for it, which is what keeps a storage job from turning into a repair job. Our guide to choosing between OEM and aftermarket parts explains the reasoning. For installation and service, your dealer is the right place to turn.
Frequently Asked Questions
When should I store my Suzuki ATV for winter?
Do it when you finish riding for the season, ideally before the first hard freeze. Starting early gives you time to order parts and make repairs without rushing.
Should I change the oil before or after storage?
Most owners change it before, so used oil is not sitting in the engine all winter. Follow the guidance in your owner's manual for your model.
Do I need to remove the battery for winter?
Not necessarily. You can keep it on the machine with a maintainer or store it off the machine in a cool, dry place and charge it occasionally.
How do I keep mice out of my ATV?
Block the airbox, intake, and exhaust openings, store the machine in a clean area, and remove food sources nearby. Remember to remove any plugs before you start the engine.
How do I find the right genuine parts for my Suzuki?
Start with your exact model and year, then check the owner's manual. Tell us what you ride and we will help you confirm the right genuine components.
Store It Right and Start the Spring Ready
A good storage routine is not complicated, but it works best when it is done in order. Clean, service the fluids, stabilize the fuel, care for the battery, support the tires, block the pests, and cover the machine. Do that, and your Suzuki wakes up in the spring ready to ride.
When you are ready to line up parts for your Suzuki's winter prep, contact our team through our OEM parts support page. We have supplied genuine parts to ATV owners since 1970, and we will help you choose the right components for the off-season.
