


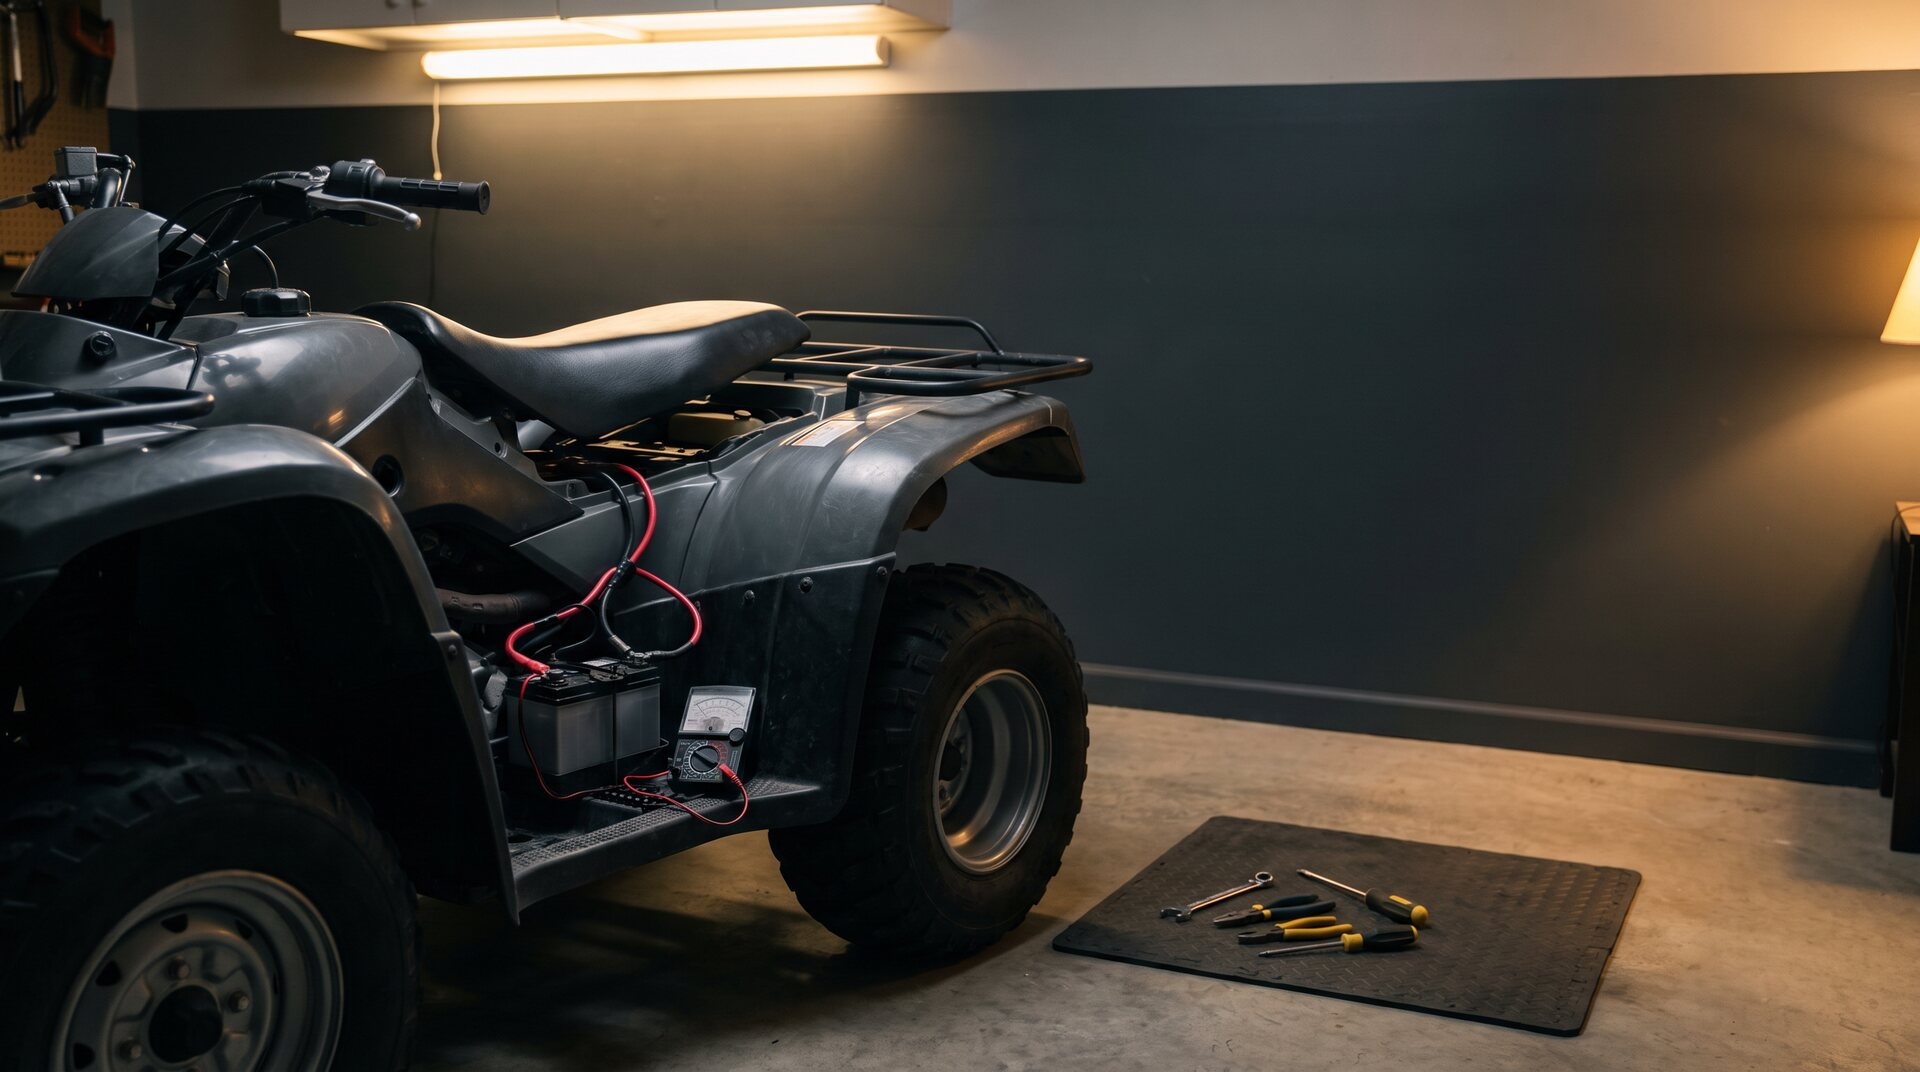
Your ATV clicks once, or cranks slowly, or fires up and then quits halfway down the trail. Electrical trouble has a way of showing up at the worst possible moment, and it feels mysterious because you cannot see electricity the way you can see a flat tire. The good news is that most quad electrical problems come from a short list of causes, and a patient owner with a basic multimeter can narrow that list down in an afternoon.
Since 1970, Carolina Cycle has supplied genuine OEM parts to riders across the mountains of western North Carolina and beyond, and we hear the same stories every season. This guide walks through ATV electrical troubleshooting in the order that saves the most time and money: start with the symptom, check the simple things first, and only then move to the starter, charging, ignition, and wiring. Along the way, we point out which genuine parts commonly solve each problem and when it is time to hand the job to your dealer.
Quick Summary
- Sort the problem by symptom first: no crank, cranks but will not start, or dies while running.
- Check the battery and its connections before anything else, because loose or corroded connections cause more "dead" machines than failed parts do.
- A basic multimeter handles the most useful checks, but always compare your readings to the values in your owner's or service manual.
- Work from the simple and cheap (fuses, relays, connectors) toward the complex (stator, regulator, ignition components).
- Stop and see your dealer if you smell burning, see melted insulation, or keep blowing fuses, and use genuine OEM parts for any component you replace.
Safety and Tools Before You Start
Electrical diagnosis is mostly patience, but a few habits keep it safe. Turn the key off and take off any rings, watches, or metal jewelry before you work near the battery, since a ring across the terminals can burn you fast. Park the machine on level ground, keep it out of gear, and keep fuel and sparks apart. When you disconnect the battery, take off the negative cable first, and put it back on last.
A digital multimeter, a flashlight, a small wire brush, a few basic hand tools, and your owner's manual cover nearly everything in this guide. The manual matters most, because it holds the fuse ratings, test values, and wiring layout for your exact model.
Start with the Symptom
Each of the three common symptoms points to a different part of the system, so naming yours first saves you from chasing the wrong thing.
No Crank: Nothing or Just a Click
When you press the start button and hear nothing, a single click, or a rapid clicking, the starter is not getting what it needs. That points toward the battery, the connections, a fuse or relay, a safety switch, or the starter itself. Dash lights that dim hard or go out when you press start usually mean a weak battery or a poor connection.
Cranks but Will Not Start
If the engine spins at a normal speed but never catches, the electrical starting side is working. Now you are looking for spark, fuel, or air. On the electrical side, that means the spark plug, the ignition coil, the kill switch circuit, and the components that control ignition timing.
Dies While Running
An ATV that starts fine and then quits, often after a few minutes or when you hit a bump, points to a different set of suspects. A weak charging system lets the battery drain until the engine stalls. A loose connector or a chafed wire cuts power when the machine vibrates. A failing ignition component can quit when it gets hot and recover after it cools.
Step One: Battery and Connections
The battery is the first stop for every symptom. Many riders replace a battery that was fine, because the real problem sat at the end of a cable. Look at both terminals and the ground connection where the negative cable bolts to the frame. White or green crust, a loose clamp, or a cable you can twist by hand all deserve attention before you spend any money.
Clean corroded terminals with a wire brush, snug them down, and try again. If you want a number, set your multimeter to DC volts and measure across the battery terminals with the machine off. Then compare the reading to the value in your manual. A reading well below spec means the battery needs charging, and a battery that will not hold a charge needs replacing. Our hunting season guide covers cold-weather battery care in more detail, so here we focus on diagnosis.
One more useful check: watch the meter while someone presses the start button. A reading that collapses during cranking points to a weak battery or a bad connection. Genuine OEM batteries, along with replacement cables, terminals, and ground straps, are the parts that typically solve this stage, and you can browse them in our Kawasaki ATV parts catalog, Yamaha ATV parts catalog, or Suzuki ATV parts catalog.
Step Two: Fuses and Relays
Fuses protect the wiring, so a blown one is a clue rather than the root cause. Find the fuse box in your manual, pull the fuse, and look at the thin strip inside. If it is broken or dark, the fuse is blown. Replace it with the exact rating your manual lists, and never use a higher rating or bridge the gap with foil or wire. You can also test a removed fuse with your multimeter set to continuity, and a good fuse reads as a complete path.
If the new fuse blows right away or again after a short ride, something is shorted, and that is the time to stop and call your dealer.
Relays work like remote switches. Many machines use one for the starter circuit, and a failed relay produces the classic single click with no crank.
Step Three: The Starter Circuit
If the battery, connections, fuses, and relay all check out and you still get a click or silence, look at the rest of the path to the starter. On many ATVs that path runs through safety switches, such as a neutral or brake switch, which tell the machine it is safe to crank. A misadjusted or worn switch can stop the starter even when everything else is healthy, so check that your manual's starting conditions are met.
The starter itself is the next suspect. A starter that clicks but turns slowly or not at all, with a strong battery and good connections, may be worn or dirty inside. Starter motors, starter relays, and the related switches are all part categories you can look up by model.
Step Four: The Charging System
Cranks fine, runs, then dies later? Look at charging. On most ATVs, a stator makes electrical power while the engine runs, and a regulator and rectifier turn that output into steady current for the battery. When the system stops charging, the battery runs down slowly until the machine quits, and the next morning it will not crank at all.
Here is the simplest test. With the engine running at a steady speed, measure across the battery terminals. The reading should be higher than the resting reading you took earlier, and your manual lists the expected range. If the voltage stays the same as resting, or falls as you run the machine, the charging system is not keeping up. If the voltage rises far above the manual's limit, the regulator may be failing and overcharging the battery, which can damage it.
The stator and the regulator and rectifier are the genuine OEM parts that commonly solve charging faults. Your manual describes how to test the stator with a multimeter, and you should follow those steps and values exactly. If the numbers are off or the procedure feels beyond your comfort level, take it to your dealer.
Step Five: Ignition and Spark
When the engine cranks strongly but will not fire, make sure fuel and air are fine, then look at the ignition side. Start with the spark plug, the cheapest and most common culprit. Remove it, check the electrode and insulator, and compare the plug to the type your manual specifies. A fouled, wet, or worn plug is easy to replace with a genuine one.
Next, check the spark plug cap and the ignition coil connections for cracks, moisture, or looseness. Make sure the kill switch is in the run position, since a stuck or damaged switch can cut ignition entirely. Genuine ignition coils and spark plug caps are common solutions here. If those do not fix it, a dealer can test the more complex components with the right equipment.
Step Six: Wiring Harness and Moisture Damage
The wiring harness is the last place to look, but on a machine that sees mud, water, and vibration, it is often where the real trouble hides. Water gets into connectors, corrodes the metal contacts, and creates resistance that comes and goes. Vibration chafes insulation against the frame until a wire shorts.
Inspect the harness by eye first. Look for cracked or melted insulation, green or white corrosion inside connectors, loose pins, and wires rubbed through where they pass the frame. Unplug a suspect connector, check the pins, and clean light corrosion with an electrical contact cleaner. Our article on ATV mud season protection and recovery covers cleaning up after wet and muddy rides, which is the best prevention for this kind of damage.
Use your multimeter's continuity setting to check a wire end to end, but only with the battery disconnected and the key off. Never probe a live circuit with the meter in a resistance or continuity mode. Genuine OEM connectors, sealing boots, and harness sections match your machine's layout and wire gauge, which matters when a repair has to survive mud and vibration.
When to Stop and See Your Dealer
Knowing when to quit is part of good diagnosis. Stop and call your dealer's service department if you smell burning, see smoke, or find melted insulation. Do the same if a fuse keeps blowing, if the battery gets hot or swells, or if the problem appears and disappears with no pattern. These signs point to shorts and failing components that can damage the machine or start a fire.
Anything that needs harness splicing or ignition module testing also belongs with a qualified technician. Carolina Cycle sells genuine OEM parts online, and we do not install parts or service machines. Your dealer handles the diagnosis and the work, and we are glad to help you identify the right genuine component once you know which one you need. Our guide to choosing between OEM and aftermarket parts explains why exact fit matters so much on electrical parts, where a close match can cause new problems.
Frequently Asked Questions
Why does my ATV click but not crank?
A single click usually means the starter relay or starter is getting a signal but not enough power. Start with the battery and the cable connections, since a weak battery or a loose terminal is the most common cause. If both check out, look at the starter relay and the starter itself.
How do I test my ATV battery with a multimeter?
Set the meter to DC volts and measure across the battery terminals with the machine off. Compare the reading to the value in your manual, then watch the meter while someone presses the start button. A reading that drops sharply during cranking points to a weak battery or a poor connection.
How can I tell if my ATV is charging?
Measure across the battery terminals with the engine running at a steady speed. The reading should rise above the resting voltage and stay within the range your manual lists. If it does not rise, or it climbs too high, the stator or the regulator and rectifier needs a closer look.
Why does my quad die after it warms up?
Heat exposes weak parts. A failing ignition component, a loose connector, or a charging problem can all let the machine run for a few minutes and then quit. Note exactly when it dies, check connections and charging, and take it to your dealer if the pattern stays unclear.
Can I fix wiring problems myself?
You can clean connectors, tighten clamps, and replace fuses and relays with the right parts. Repairing a damaged harness, or tracking down a short, is a job for your dealer. When in doubt, stop before the problem grows.
Find the Fault, Then Fix It Right
Good electrical troubleshooting is a matter of order. Name the symptom, check the battery and connections, move through fuses, relays, starter, charging, and ignition, and finish with the harness. Follow your manual's values, keep safety first, and let your dealer handle what goes beyond a driveway repair.
When you know which part you need, contact our team through our OEM parts support page. We have supplied genuine parts to riders since 1970, and we will help you find the right component for your machine.
